
はじめに
前回からの続きでSwiftUIのチュートリアル入門になります。
もと記事サイト

Building lists and navigation | Apple Developer Documentation
With the basic landmark detail view set up, you need to provide a way for users to see the full list of landmarks, and t...
developer.apple.com
Step0
このセクションでは、前回までに作成したLandmarkのセルをリスト表示できるようにします。
Step1
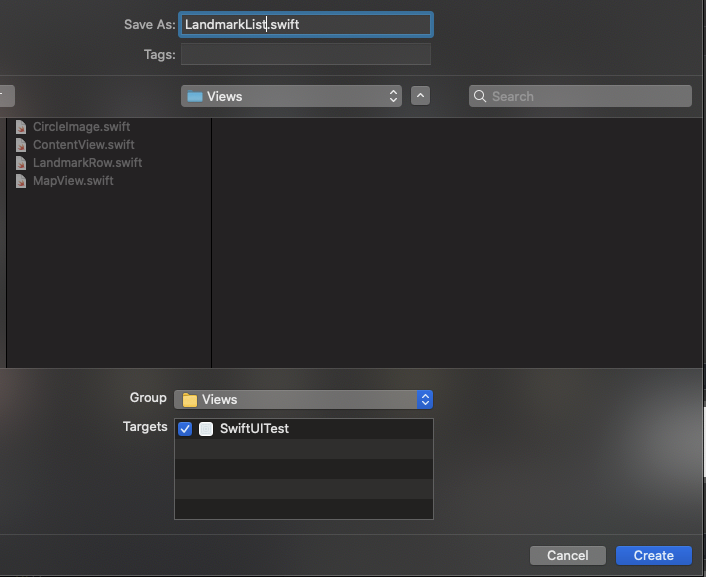
LandmarkList.swiftファイルを新規作成します。
Step2
初期表示されているTextを削除して、LandmarkRowをListで囲んで記載します。
import SwiftUI

struct LandmarkList: View {
    var body: some View {
        List {
            LandmarkRow(landmark: landmarks[0])
            LandmarkRow(landmark: landmarks[1])
        }
    }
}

struct LandmarkList_Previews: PreviewProvider {
    static var previews: some View {
        LandmarkList()
    }
}
リストが簡単に表示されましたね!

まとめ
セルとなるViewを作成し、Listで囲んで表示するだけで、UITableViewと同様のリスト表示ができるのはとても簡単ですね。


コメント