
はじめに
前回からの続きでSwiftUIのチュートリアル入門になります。

もと記事サイト

Step0
このセクションではこれまで作成したTextや画像、マップを組み合わせて1つのレイアウトを作成していきます。
Step1
プロジェクトナビゲーターから、一番最初に作成したContentView.swiftをクリック選択します。
Step2
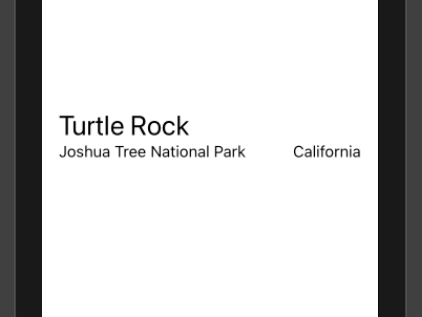
下のコードのように新規VStackに既存のVStackを入れます。
import SwiftUI

struct ContentView: View {
    var body: some View {
        VStack {
            VStack(alignment: .leading) {
                Text("Turtle Rock")
                    .font(.title)
                HStack {
                    Text("Joshua Tree National Park")
                        .font(.subheadline)
                    Spacer()
                    Text("California")
                        .font(.subheadline)
                }
            }
            .padding()
        }
    }
}

struct ContentView_Previews: PreviewProvider {
    static var previews: some View {
        ContentView()
    }
}
見た目上は特に変わりないですね。
Step3
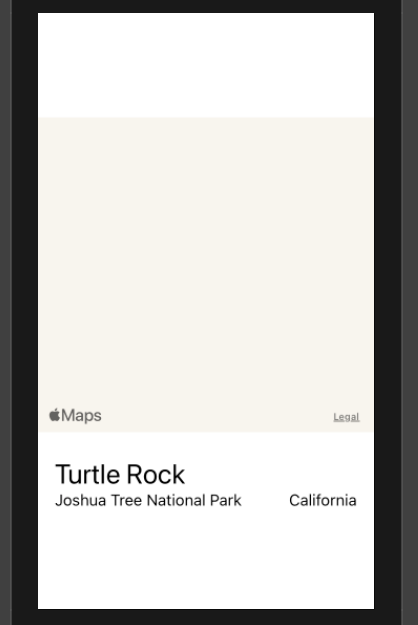
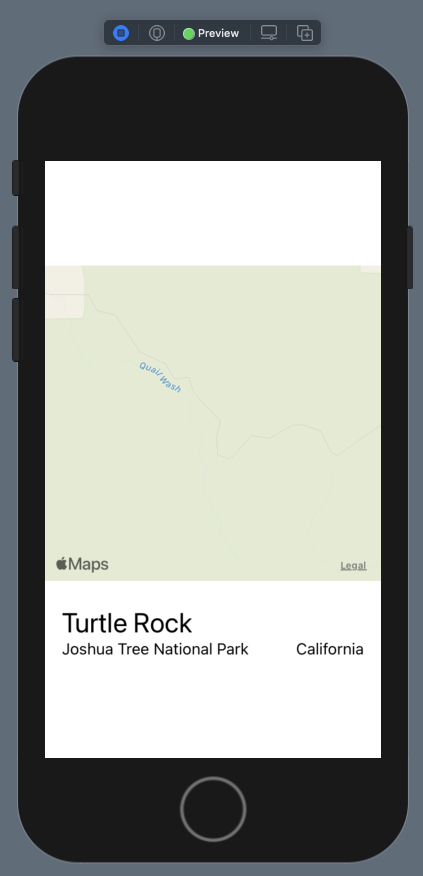
VStackの一番上にMapViewをframe(hight:)を指定して追加します。
ここではwidthを指定していませんが、この場合幅は自動で決定されます。
import SwiftUI

struct ContentView: View {
    var body: some View {
        VStack {
            MapView()
                .frame(height: 300)

            VStack(alignment: .leading) {
                Text("Turtle Rock")
                    .font(.title)
                HStack {
                    Text("Joshua Tree National Park")
                        .font(.subheadline)
                    Spacer()
                    Text("California")
                        .font(.subheadline)
                }
            }
            .padding()
        }
    }
}

struct ContentView_Previews: PreviewProvider {
    static var previews: some View {
        ContentView()
    }
}
Step4
編集しただけではマップに何も表示されていないので、Live Previewボタンをクリックします。
プレビューしながらでも編集作業はできるようです。
Step5
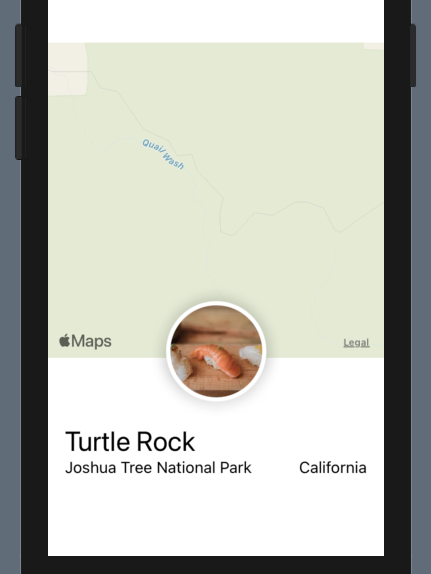
MapViewの下に、CircleImageを追加します。
import SwiftUI

struct ContentView: View {
    var body: some View {
        VStack {
            MapView()
                .frame(height: 300)

            CircleImage()

            VStack(alignment: .leading) {
                Text("Turtle Rock")
                    .font(.title)
                HStack {
                    Text("Joshua Tree National Park")
                        .font(.subheadline)
                    Spacer()
                    Text("California")
                        .font(.subheadline)
                }
            }
            .padding()
        }
    }
}

struct ContentView_Previews: PreviewProvider {
    static var previews: some View {
        ContentView()
    }
}
Step6
Mapに画像を重ねます。
Appleのチュートリアルでは.offset(y: -130)、.padding(.bottom, -130)で設定していますが、
私の選んだ画像はそこまで大きくないので-60として調整しています。
ご自身の選んだ画像の大きさに合わせて調整頂ければいいかと思います。
import SwiftUI

struct ContentView: View {
    var body: some View {
        VStack {
            MapView()
                .frame(height: 300)

            CircleImage()
                .offset(y: -60)
                .padding(.bottom, -60)

            VStack(alignment: .leading) {
                Text("Turtle Rock")
                    .font(.title)
                HStack {
                    Text("Joshua Tree National Park")
                        .font(.subheadline)
                    Spacer()
                    Text("California")
                        .font(.subheadline)
                }
            }
            .padding()
        }
    }
}

struct ContentView_Previews: PreviewProvider {
    static var previews: some View {
        ContentView()
    }
}
Step7
SpacerをVStackのbottomに追加して、全体を上部寄せにします。
import SwiftUI

struct ContentView: View {
    var body: some View {
        VStack {
            MapView()
                .frame(height: 300)

            CircleImage()
                .offset(y: -60)
                .padding(.bottom, -60)

            VStack(alignment: .leading) {
                Text("Turtle Rock")
                    .font(.title)
                HStack {
                    Text("Joshua Tree National Park")
                        .font(.subheadline)
                    Spacer()
                    Text("California")
                        .font(.subheadline)
                }
            }
            .padding()

            Spacer()
        }
    }
}

struct ContentView_Previews: PreviewProvider {
    static var previews: some View {
        ContentView()
    }
}
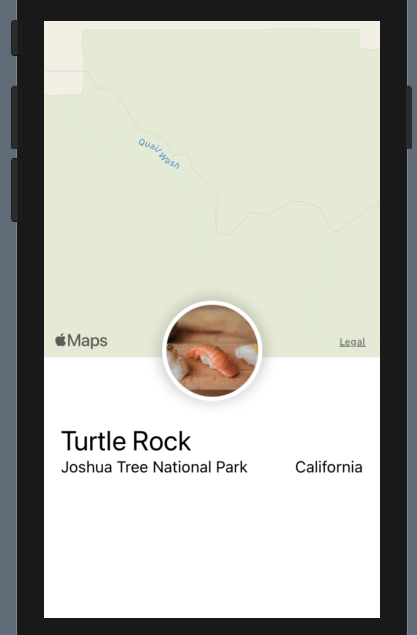
Step8
MapにignoresSafeArea(edges: .top)を追加して、セーフエリアの上部まで表示できるようにします。
import SwiftUI
struct ContentView: View {
var body: some View {
VStack {
MapView()
.ignoresSafeArea(edges: .top)
.frame(height: 300)
CircleImage()
.offset(y: -60)
.padding(.bottom, -60)
VStack(alignment: .leading) {
Text("Turtle Rock")
.font(.title)
HStack {
Text("Joshua Tree National Park")
.font(.subheadline)
Spacer()
Text("California")
.font(.subheadline)
}
}
.padding()
Spacer()
}
}
}
struct ContentView_Previews: PreviewProvider {
static var previews: some View {
ContentView()
}
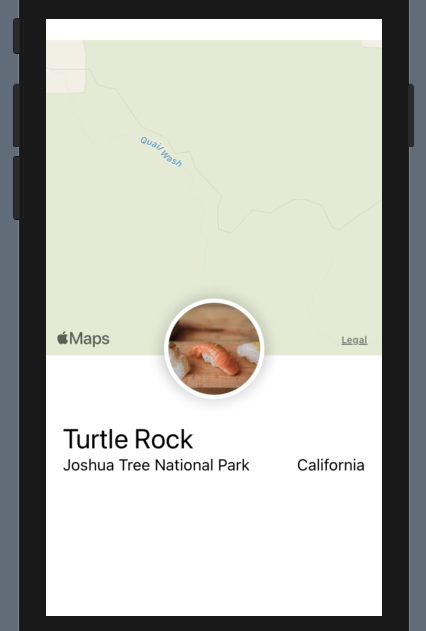
}上部の白いセーフエリアがなくなりましたね!
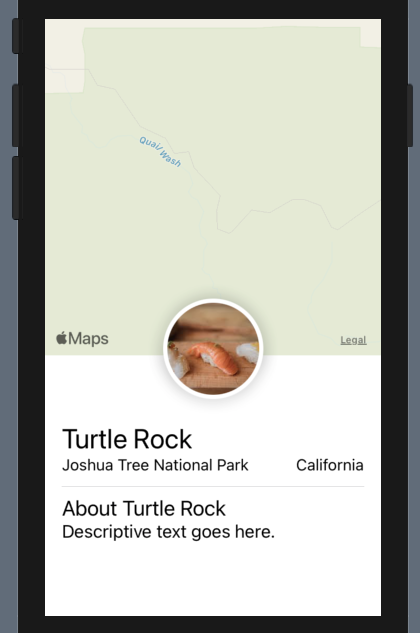
Step9
Dividerと詳細表示用のTextを追加します。
import SwiftUI

struct ContentView: View {
    var body: some View {
        VStack {
            MapView()
                .ignoresSafeArea(edges: .top)
                .frame(height: 300)

            CircleImage()
                .offset(y: -60)
                .padding(.bottom, -60)

            VStack(alignment: .leading) {
                Text("Turtle Rock")
                    .font(.title)
                HStack {
                    Text("Joshua Tree National Park")
                        .font(.subheadline)
                    Spacer()
                    Text("California")
                        .font(.subheadline)
                }

                Divider()

                Text("About Turtle Rock")
                    .font(.title2)
                Text("Descriptive text goes here.")
            }
            .padding()

            Spacer()
        }
    }
}

struct ContentView_Previews: PreviewProvider {
    static var previews: some View {
        ContentView()
    }
}
簡単にセパレータが表示できますね。
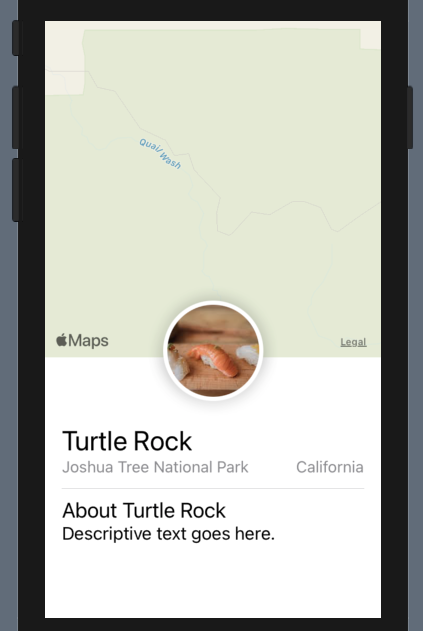
Step10
HStackの中に入っているTextのフォントと色を変更します。
stackのようなグループ化されたものにレイアウトの変更を加えると、中に含まれるすべてのエレメントに適用できます。
import SwiftUI

struct ContentView: View {
    var body: some View {
        VStack {
            MapView()
                .ignoresSafeArea(edges: .top)
                .frame(height: 300)

            CircleImage()
                .offset(y: -60)
                .padding(.bottom, -60)

            VStack(alignment: .leading) {
                Text("Turtle Rock")
                    .font(.title)
                HStack {
                    Text("Joshua Tree National Park")
                        .font(.subheadline)
                    Spacer()
                    Text("California")
                        .font(.subheadline)
                }
                .font(.subheadline)
                .foregroundColor(.secondary)

                Divider()

                Text("About Turtle Rock")
                    .font(.title2)
                Text("Descriptive text goes here.")
            }
            .padding()

            Spacer()
        }
    }
}

struct ContentView_Previews: PreviewProvider {
    static var previews: some View {
        ContentView()
    }
}
まとめ
[Creating and Combining Views編]が完了しました!
簡単なViewの表示を覚えるにはちょうど良いかもしれませんね。
次回からは[Building Lists and Navigation編]を進めていこうかと思います。


コメント